Quick setup
Everything yeon needs, in order. Only the first two steps are required — proxies, logins and sign-in-code keys can all wait until you want them.
This page assumes yeon is installed. If it isn't yet, start with Install & first run and come back here.
What you need
| What | Required? | Where you add it |
|---|---|---|
| A license key | Required | The activation screen, the first time yeon opens |
At least one persona (profiles.csv) |
Required for autofill | Control center → Profiles, or Settings → yeon → Identities |
Your logins (accs.csv) |
Optional | Settings → yeon → Identities → Account sets |
| Proxies | Optional | Control center → Proxies, or Settings → yeon → Identities → Proxy pool |
| Sign-in code keys (email / SMS) | Optional | Settings → yeon → Identities → API keys & Email (IMAP) |
1. Activate your license
Until a valid key is accepted, the activation screen is the only page yeon will open — every other address is turned away. Paste your key, click Activate, and yeon unlocks and drops you on the control center.
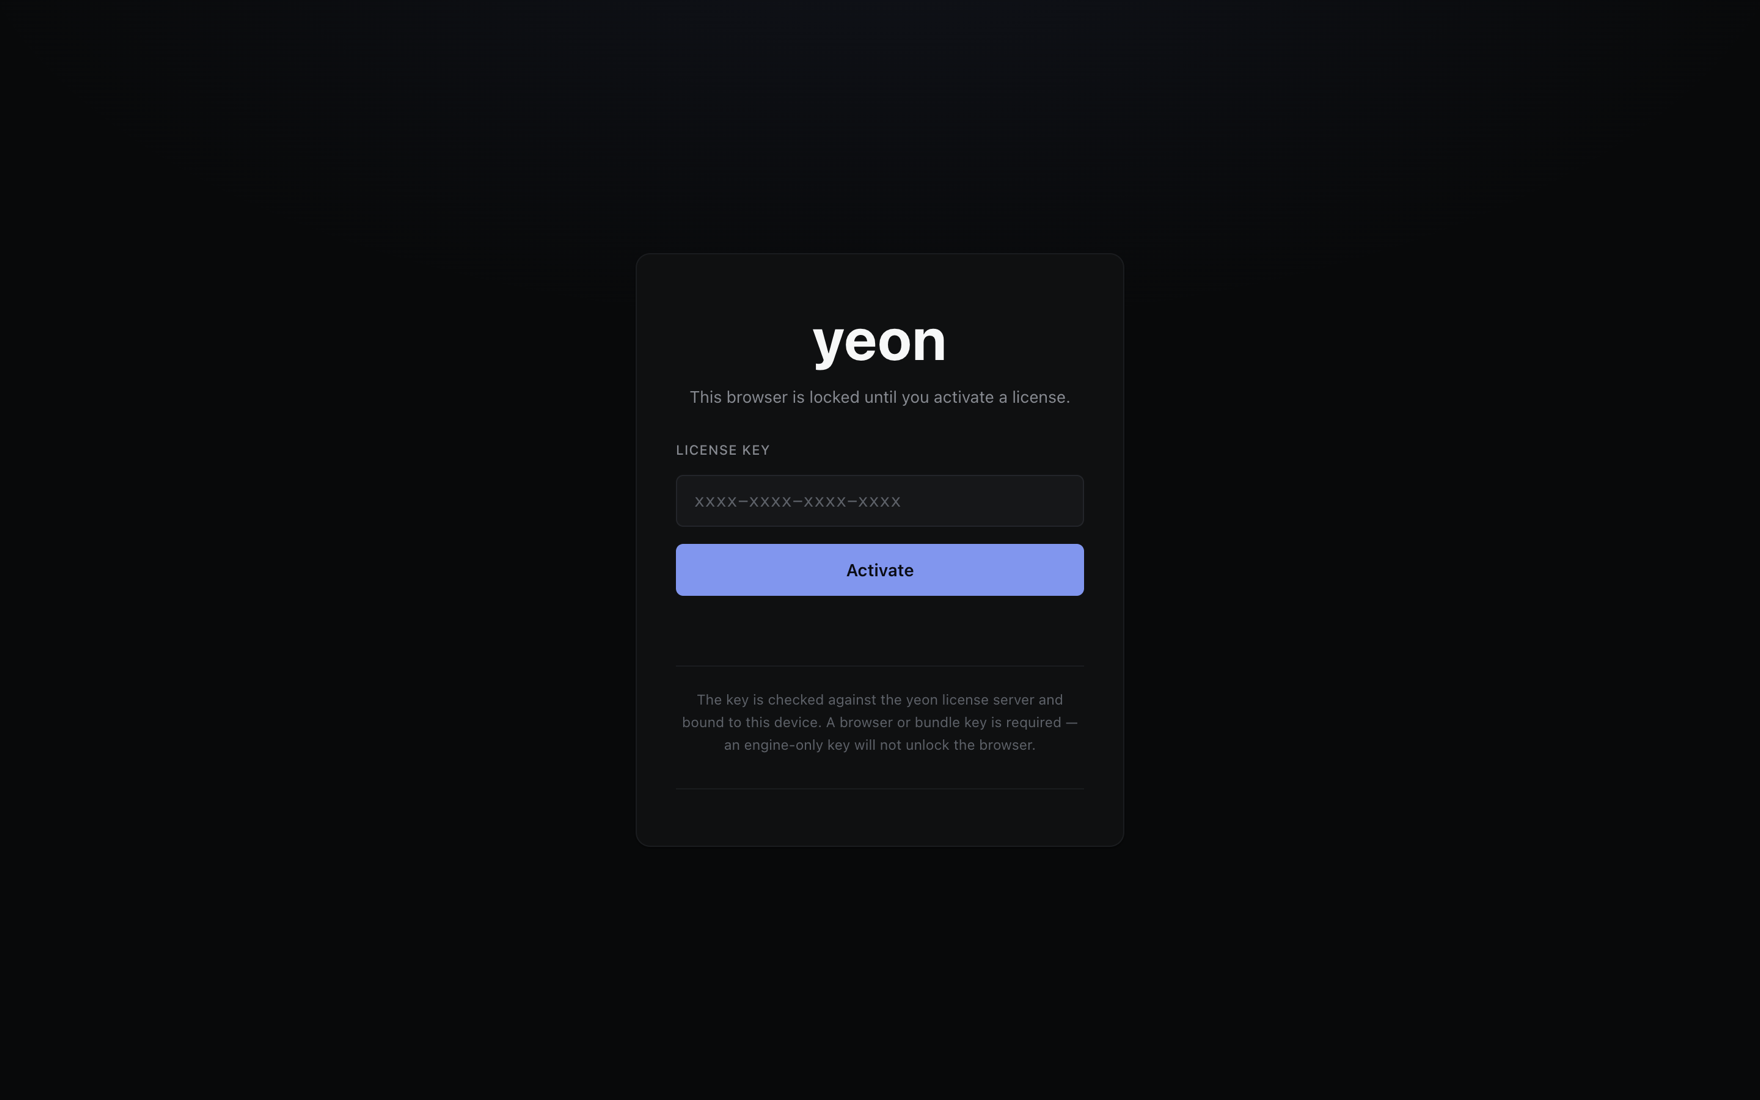
Where keys come from, device slots, and what each refusal message means are all on Licensing & activation.
2. Add at least one persona
A persona is one set of autofill details — name, address, card — under a name you choose. It is what yeon types into checkout and sign-up forms, and it is what everything else hangs off: your logins join to it, and each identity you launch carries one.
The only genuinely required column is ProfileName. Every other column is optional — fill in
what you have.
- Paste them in the control center
Open the control center (yeon's home page), go to Profiles, and click Import. Paste your rows straight in — this route is paste-only, no file picker.
- Or upload the file in settings
Go to Settings → yeon → Identities and find the "Profiles — per-persona logins" card. Pick your
profiles.csvwith the file button. Download example there hands you a ready-to-edit template with the exact headers the importer accepts.
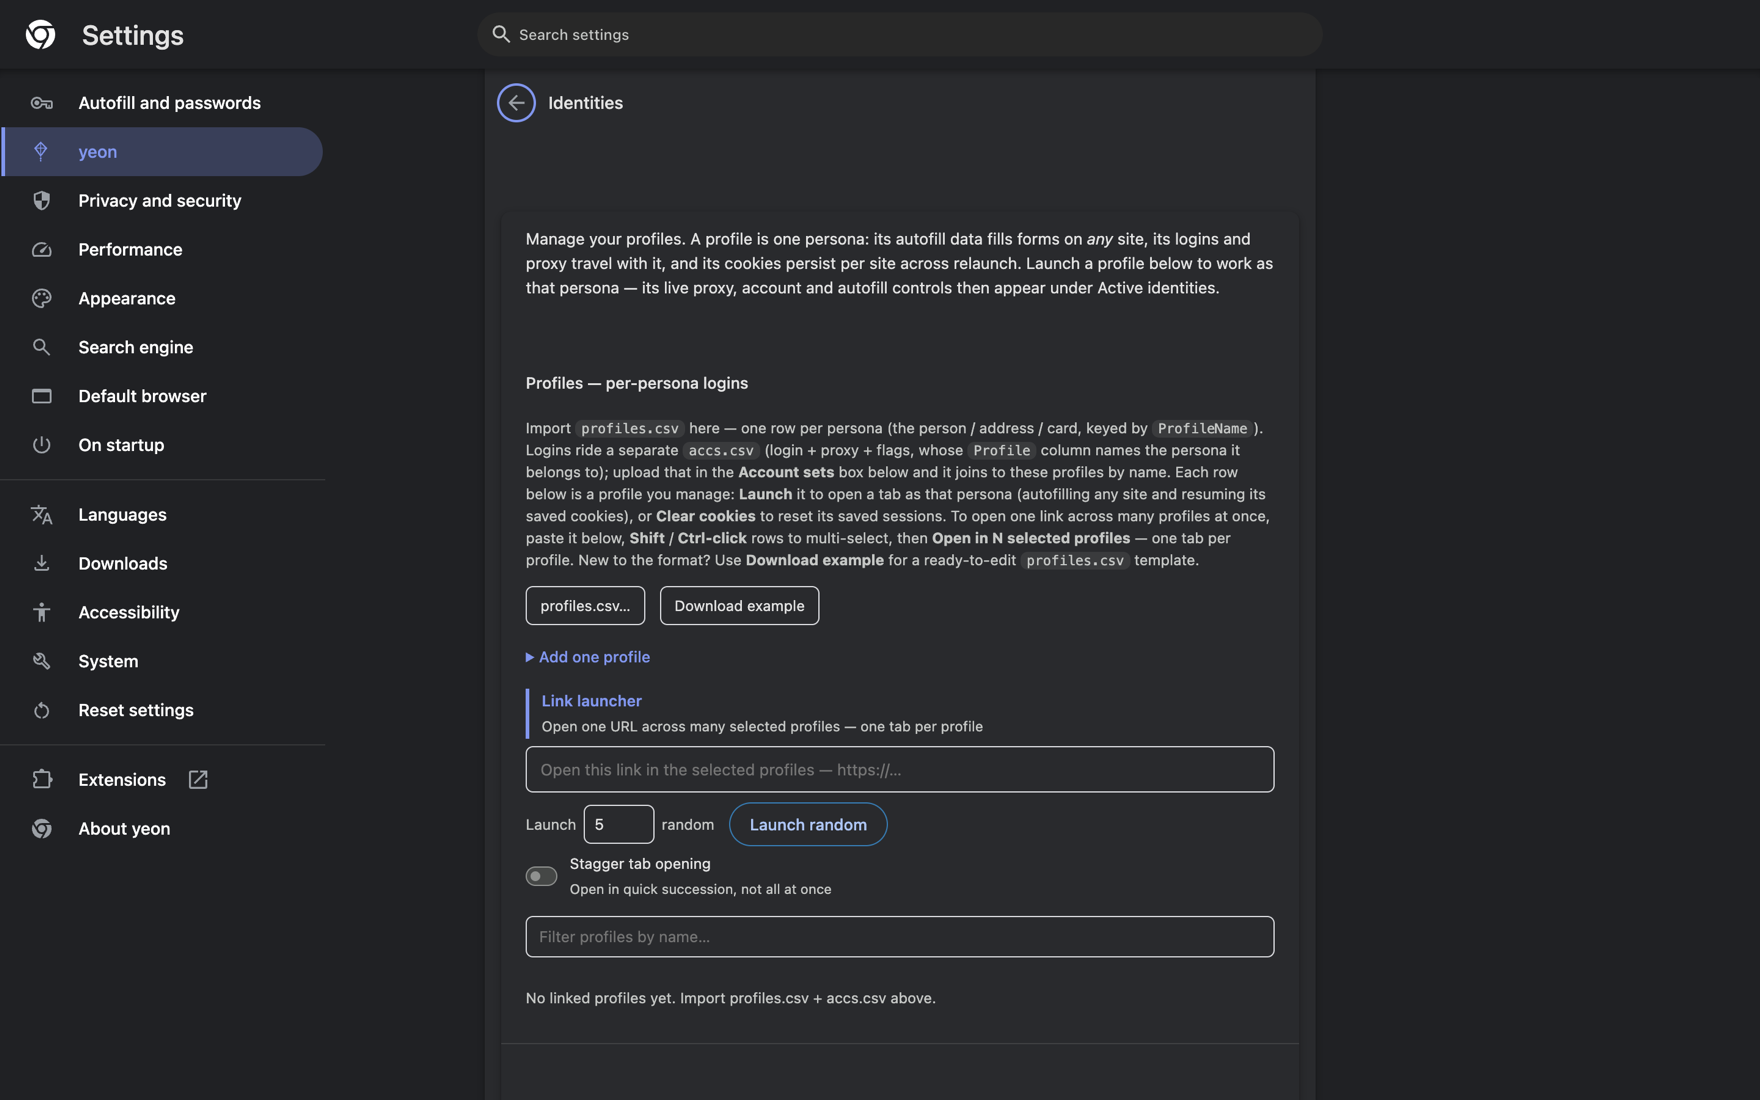
The Add one profile link on the same card opens a plain form — same fields as the CSV, no file needed. Only Profile name is required.
3. Add your logins
Optional. Logins live in a separate file, accs.csv, because one persona usually owns several
accounts. Each row names the persona it belongs to in its Profile column, and yeon joins the
two files on that name.
Upload it in the "Account sets — switchable per-persona logins" card, one card below the profiles one. Name the set first — the picker refuses the file until the set has a name. The set name is what you switch between later when you want a different batch of logins live.
You can import the two files in either order: a login that names a persona you have not imported yet still lands under that name, ready for the persona to catch up.
4. Add proxies
Optional — but read the warning. Add them in the control center under Proxies, or in the "Proxy pool" card in settings. You give the group a name and paste one proxy per line.
With no proxy group configured at all, identities simply go out on your normal connection and browsing works. But a group that exists and is empty is treated as "a proxy was asked for and none was available" — identities pinned to it refuse traffic rather than quietly leaking onto your own connection. So either configure no group, or keep the active group stocked.
Full detail — groups, rotation, per-account pinning — is on Proxies & rotation.
5. Add sign-in code keys
Optional, and only needed if you want yeon to fill one-time sign-in codes for you. Everything else works without it. Enter them once in the "API keys & Email (IMAP)" card in Settings → yeon → Identities.
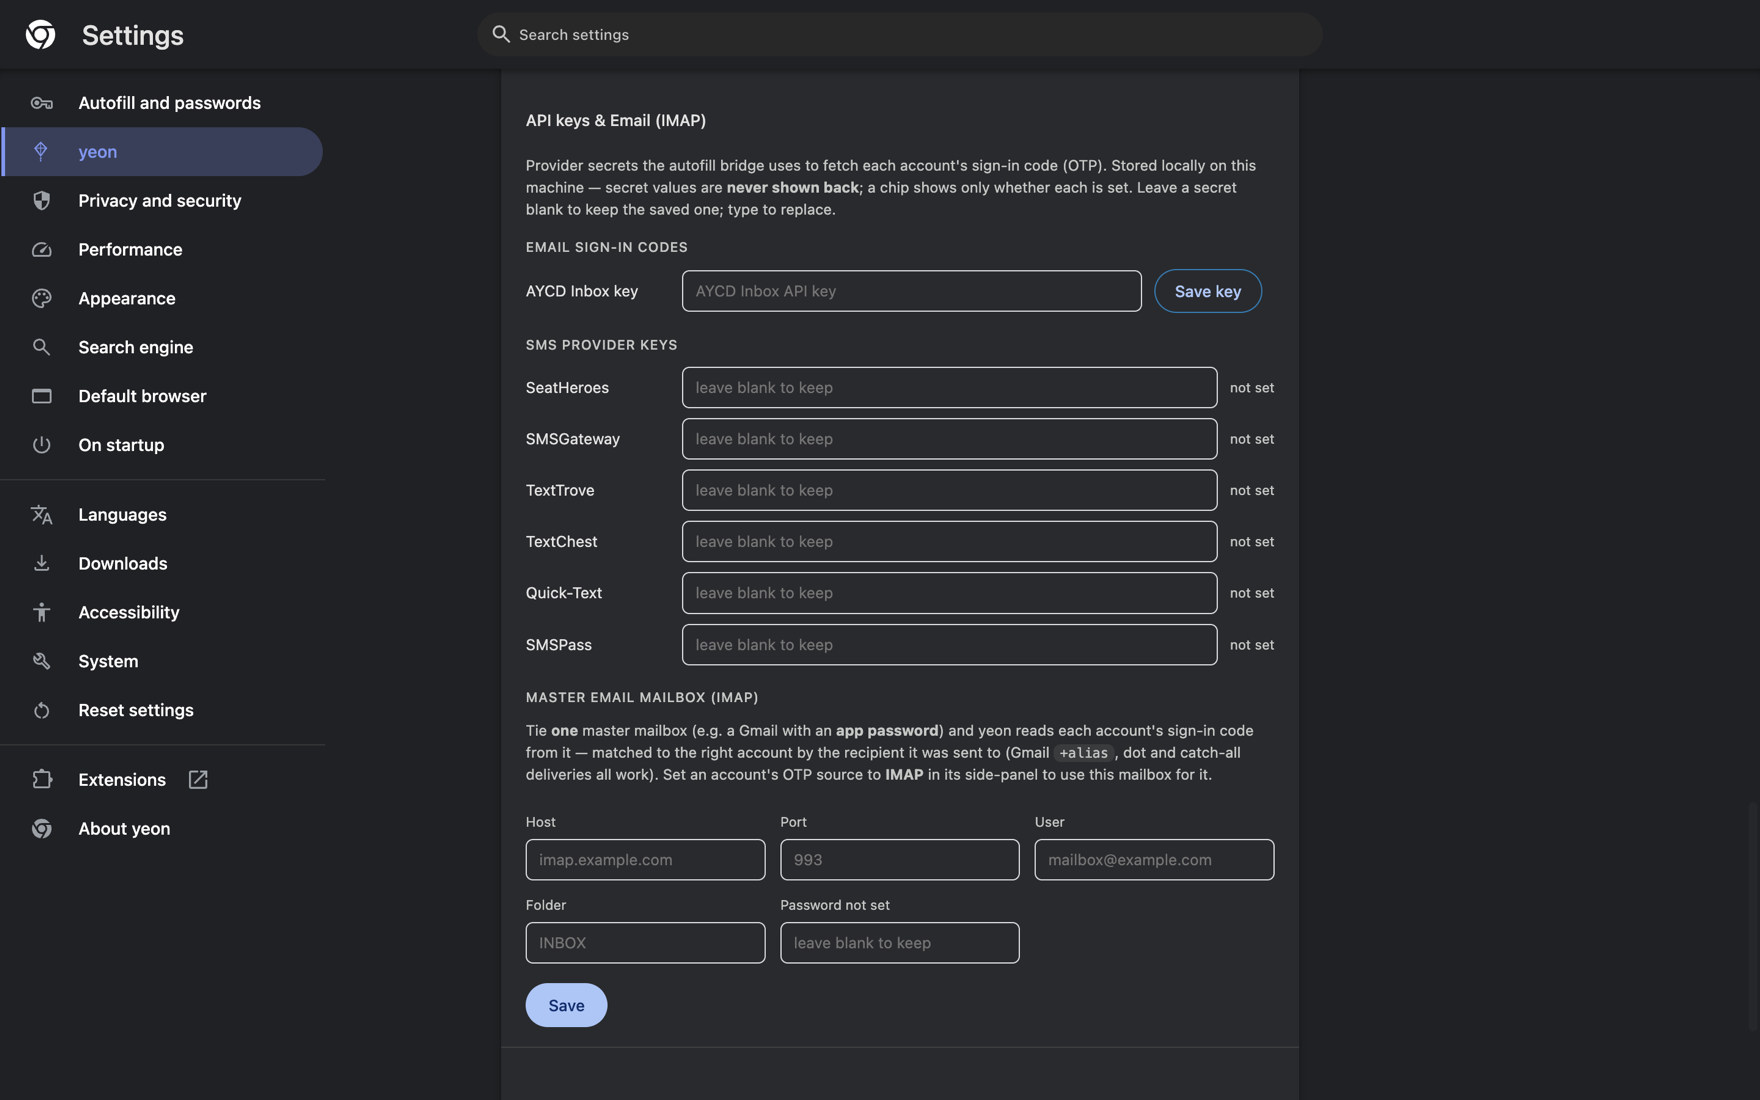
Which provider fills which code, and how each account picks its source, is on OTP autofill.
The example files
Two files, downloadable and ready to edit. Open either in a spreadsheet app — Excel, Google Sheets — replace the example rows with yours, and save as CSV.
ProfileName. This is the required one.accs.csvYour logins — many rows can point at one persona through the Profile column. Optional.ProfileName in profiles.csv and Profile in accs.csv are the join key: matching names put a
login on a persona. Every column in both files — what it holds, the alternative spellings each one
accepts, and how sign-in codes are routed — is on Importing profiles &
accounts.
Before you import
The things people actually get caught by.
The header row is not optional
Both files must start with a header row. There is no positional or headerless mode — without a header the first line of data is read as column names and quietly disappears.
Header spelling
Headers are not case-sensitive: ProfileName, profilename and PROFILENAME are the same
column. Separators are a different story — first_name and firstname both work, but
First Name with a space, or first-name with a hyphen, does not. Stick to the spellings in
the column reference and you will not hit this. (ProfileName itself is the
one forgiving column: Profile Name, profile_name and Profile-Name all resolve.)
Quotes, commas and line endings
- A cell containing a comma must be wrapped in double quotes:
"Unit 3, 12 Test Street". - A literal double-quote inside a quoted cell is written twice:
"c/o ""The Annex""". - A quoted cell may contain a line break.
- Windows (
CRLF) and Mac/Unix (LF) line endings both work, and so does a trailing newline. - Blank lines are skipped, and so is any line whose first cell starts with
#— handy for notes. - A byte-order mark is stripped, so a file saved from Excel as "CSV UTF-8" imports cleanly.
Extra columns behave differently in each file
- In
profiles.csv, a column yeon does not recognise is kept as a custom autofill field for that persona. Useful — but it means a stray column name sticks around rather than being dropped. - In
accs.csv, anything outside the documented columns is ignored.
Importing the same file twice
This is the one that surprises people, because the two files behave differently.
profiles.csvupdates in place. A row whoseProfileNamealready exists replaces that persona's details rather than adding a second copy — matched exactly, soJane Doeandjane doeare two different personas. Because it is a replace and not a merge, a column you left blank in the new file clears what was there before. The persona's logins, saved sessions and cookies are untouched. A row carrying nothing but a name leaves the existing details alone.accs.csvadds. Re-importing the same logins into the same set gives you two copies of every row — there is no de-duplication. Import each batch once, or start a fresh set name.
Identities & profiles — what a persona becomes once you launch it · The control center — the home page for all of the above · Persona autofill — the shortcut that fills a form